A blog about mixed media/collage artwork of Laura Shelton, maybe some techniques and mini tutorials, even some videos!!...So, grab a coffee and relax for a while...and away we go!!!
I used to know someone who was always referring to "Back in the day...", which is fine, unless you do it about 27 times a day, at which point everyone begins to think you live more in your "Glorious Past" where you were a legend in your own mind and everything was 100 times better than now, and that you might be trying to avoid the reality of the "Here and Now", where you actually still live with your parents, have a part time job, and a none of the time love life....remind you of anyone?? Yeah...those people...
The reason I bring up the past is not to persecute a few old boyfriends and maybe an ex or two, but I wanted to let you know that I am going to be listing some artsy videos that I made, "Back in the day..." which goes all the way back to around 2012 or so... I think today I am going to list the very first video I ever made...It isn't huge on techniques, but is more just AN INFormative, let's get to know each other kind of video...You will get to have a quickie course on how I usually do my altered Books, explained sweetly in my ridiculous sounding Texas drawl...I'm sure you will get a kick out of it...I never realized just how TEXAn I sounded until I started doing videos! Try to ignore the voice, and just take in the sights...It shouldn't be too painful....I would love to have some feedback from you about the video if you don't mind...Just post it in the comments section...
Have you recovered from the video yet?? Ok, good...moving right along, I just wanted to do a little bit of a tutorial for you, mostly just tips and things to make your life easier if you decide to make a book or two like the little books I have been making that range in size from 2x2 inches and up to 4x4 inches...2x2 inch Art Book
and the 4x4 inch Art book...
4x4 inch art book
These are made using the thick, watercolor Coaster tiles that you can get from Amazon, etc...and they look like this
and then, after you get through with them, you might have backgrounds that are sorta like these...I used dyes, watercolors, inks, collage, washi tape, markers, stencils, acrylic paints, stamps, my homemade permanent watercolors/spray mists (secret recipe...) and metallic and glitter paints...whew!! I may have forgotten a few, even now!! anyway, the backgrounds can be really awesome with such a small surface to work on, and the size and shape is really great to work with...after you get the watercolor tiles/coasters embellished like you want, give the entire thing a heavy coat of some type of sealer or varnish..I love the glossy acrylic varnish by Liquitex, or the really cheap but fantastic in my opinion, the acrylic gloss medium or varnish, made by Sargent. Cheap is fantastic in this case. I love it because it is a really super glossy, almost wet look even when it has dried.You may want a more matte look, in which case you can find it in either of the brands I mentioned, or use Golden's, etc......but any type of sealer/varnish will be fine, just make sure to get a good thick coat on your page...it will last forever then, and your kids can give the books to your grandkids when they get old enough for such valuable family heirlooms...yeah...ok, moving right along...
anyway. after you have a few pages (tiles) done by both front and back, assemble the pages into book form by first deciding which way your pages need to go and in what order, then punch a couple of holes in the left hand side of each page, and put the pages together using book rings, ribbon, leather strips, etc...Be sure to do a really nice page to be used for the front page of your new book, give it a title either by hand or by using sticky letters, etc...
front page of new book "Freedom"
Back side of the front page, which means it is the first page of the inside...
Be careful when punching your holes in the pages, and make sure you have them in the order you want them to stay in....once the holes are punched, they are not going to go away...I have accidentally punched the wrong side of the page 2 times since making these, and I was sorta able to cover it up with some embellishments that I glued in over the holes....Back in the day, I wouldn't have made that mistake.....uh huh...
Ok, I have probably worn you out by now, so I am going to stop...If you have any questions, leave them below in the comments, and I will address them in the next blog...Have a great week, and remember.....
Happy Creating!!
Laura
Laura's Uniques I
https://www.etsy.com/shop/LaurasUniques
Laura Uniques II
https://laurasuniques.patternbyetsy.com/
I was aimlessly hanging out in cyberspace the other day, and found myself at one of my fav NING spots, "The Art Colony" (it's where all of the cool kids hang out...) and I was discussing sizes with a couple of my female friends, and we decided that size certainly does make a difference...we all agreed to try making some smaller art than what we were accustomed to making, most notably the 3x3 inch size (known as threebies) and the 4x4 inch size (known as fourbies). This idea between us happened just a couple of weeks ago, and now, we are all hooked on making the smaller size art. It seems to help us grow in our craft, and make use of space that we weren't used to doing in the larger sizes....so, I want to challenge you to try the smaller sized art yourself...email it to me at sheltonlaura28@yahoo.com, and I will add it to my blog and you will become famous overnight...well, maybe not, but some people will enjoy looking at it, I do know that! Besides, I would love to see it myself! So, it is only fair that if you are going to show me yours, I need to show you mine..so without further ado....
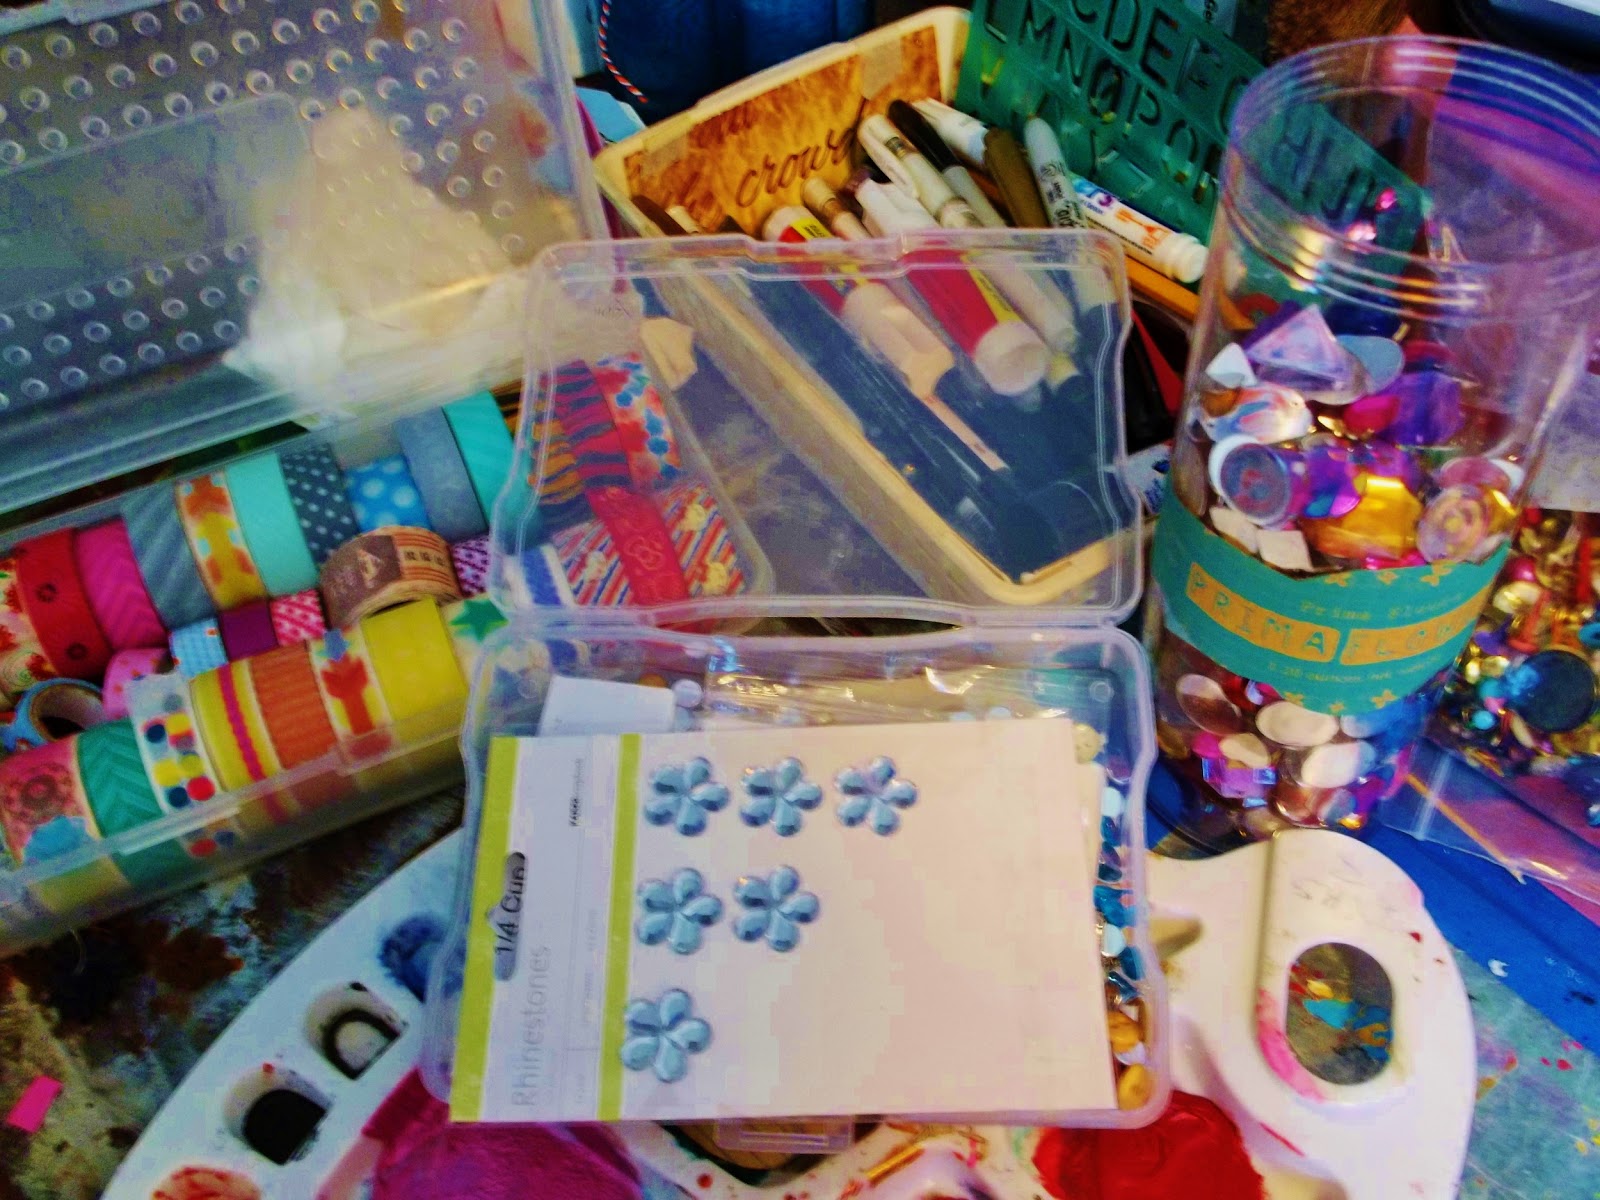
here is a sampling of the supplies that I used in making mine. I used rhinestones of various colors, washi tape, sequins and markers of all types...these had to be permanent markers because if not, they would run and mess up when it came time to varnish and seal them. So-please use permanent markers, dyes and inks when you can or it will become a mess...
I also used all kinds of tiny embellishments of all types, plastic, fabric laces, die cuts, stencils
and-YES that is hairspray...it works beautifully as a fixative to keep pastel chalks and other smearable things from smearing too much...On side note...use your own art in your projects like this...go through your old art books, sketchbooks, etc and recycle your own beautiful mess into a new and more beautiful mess! It is amazing what you can come up with from something you thought was horrible to even look at...Now..about adhesives...lightweight paper to paper-Elmers Glue-All or something equal to it, and for heavier pieces and things-E6000...nothing beats E6000 in my books...I have tried so many others, and just keep coming back to it. It's cheap, and easy...who can turn that down??
ok, we have all of that down...next I had my pieces cut up to the size I needed, then out came the stencils and the dyes, acrylic paints, stencils, Extreme Glitter, and black and white permanent markers. I use the UNI Posca brand markers and just love them, after a rocky start to the relationship, I can say that we are becoming almost inseparable...
OK without any more talking..here is what I did..
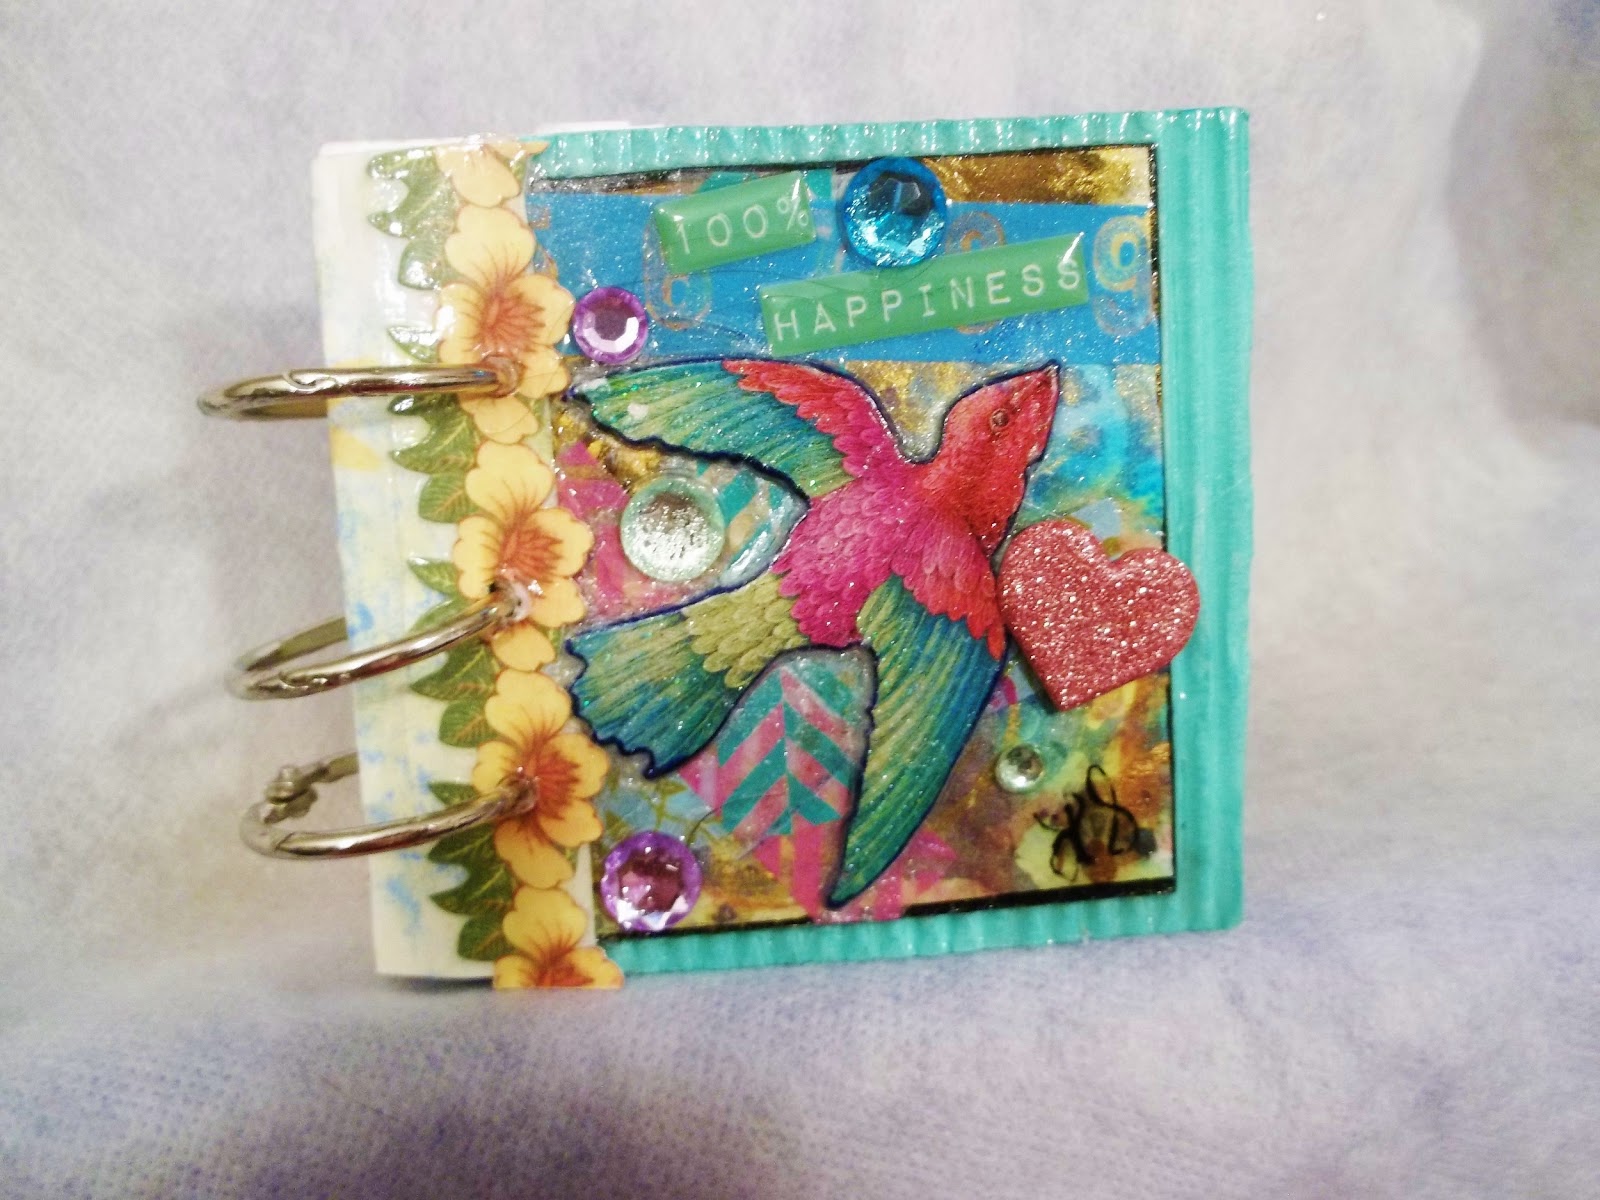
All held together with binder rings, it is a 3x3 inch book of mixed media/collage on corrugated cardstock. I used cardstock, embellishments made of paper, metal and plastic, laces and fibers, brads and a leather strap for the closure. and I LOVE the front with the colorful bird! This would make a great gift for your BFF or someone like that!
Also, I made a larger one...4x4 inches or a fourbie book..Here is how it turned out.:
I think it turned out gorgeous, especially after adding some of the laces that I have gotten from Pamela Joy and the scraps of things I have around here. I had several colors of the paper ribbon which I turned into "curliques" using scissors...There is also a "bead tail" attached, along with a silver tone, metal butterfly charm to top it all off!
back page of the 4x4 inch "Fourbie" album
I know this has been a long blog post, but I wanted to show you all of the pretty pages that have become a part of these books...If you have any questions about the process or techniques, please contact me through the comments section, and I will be with you asap! In the meantime, "Happy Creating"!